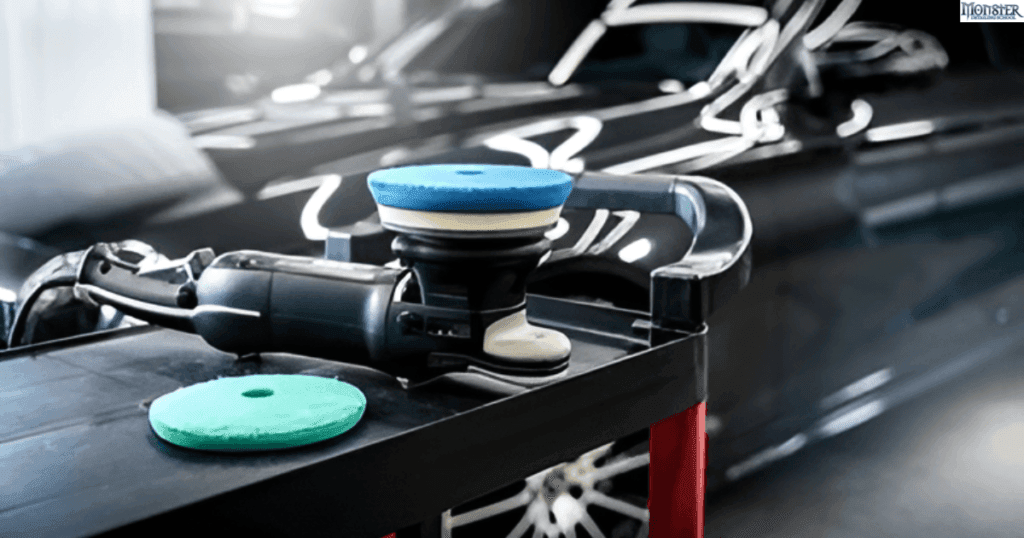
Keeping your dual action polisher pads clean is crucial for achieving the best results in car detailing. Over time, polish, wax, and other residues can build up on the pads, reducing their effectiveness. Dirty pads can even cause streaks, uneven polishing, and potentially damage your vehicle’s paint. Here’s a guide on how to keep your polisher pads in top shape, ensuring a smooth and consistent finish every time you detail.
Why Clean Your Polisher Pads?
When you use a dual action polisher, the pads gradually collect excess polish, wax, and paint residue. This buildup can harden, causing the pad to lose its softness and flexibility. Not only does a clean pad perform better, but it also lasts longer, saving you money in the long run. Regular cleaning prevents leftover polish from transferring to other surfaces, ensuring each polishing session starts with a fresh pad.
Related Blog: How to Polish a Car with a Dual Action Polisher
Step-By-Step Guide to Cleaning Dual Action Polisher Pads
1. Remove Excess Product
Before you start cleaning, use a soft brush or a microfiber cloth to wipe off any visible product residue from the pad. This will make the actual washing process easier and faster.
2. Rinse with Warm Water
Place the pad under warm running water. Rinsing with warm water helps loosen up the polish or wax on the pad’s surface, making it easier to remove.
3. Apply a Pad Cleaner or Mild Soap
Apply a few drops of a specialized pad cleaner or a mild liquid soap directly onto the pad. Gently massage it into the foam with your fingers, ensuring that the cleaner works its way into the pad’s pores. This step helps break down any residues trapped within the pad, leaving it clean and ready for the next use.
4. Rinse and Squeeze
Rinse the pad thoroughly with warm water, squeezing it gently to remove the cleaner and any remaining polish. Be careful not to twist or wring the pad, as this could damage the foam. Continue rinsing until the water runs clear, indicating that the pad is free of cleaner and residue.
5. Dry the Pad Properly
After cleaning, lay the pad on a clean, dry towel and press down gently to remove excess water. It’s essential to let the pad air dry completely before storing it or using it again. Avoid high heat or direct sunlight, as these can cause the foam to degrade over time.
Extending the Life of Your Polisher Pads

Quality dual action polisher pads can be an investment, so taking care of them ensures you get the most out of every pad. Proper cleaning not only maintains their efficiency but also extends their life. For those looking to get started with dual action polishers, check out our guide on how a dual action polisher works to better understand the importance of clean pads in achieving flawless results.
Conclusion
Cleaning your dual action polisher pads is an easy but important part of car detailing. It ensures a high-quality, professional finish on your vehicle, free from swirl marks or unwanted streaks. By taking the time to clean and maintain your pads after each use, you’ll be prepared for every detailing session with tools that are in top condition.
At Monster Detailing School, in our car detailing classes we offer more tips and tools for detailing enthusiasts and professionals alike. With the right techniques and maintenance, you can make the most of your dual action polisher, creating smooth, flawless finishes every time.
More blogs on DA polishers:
- How to Wax a Car with a Dual Action Polisher
- Can You Burn Paint with a Dual Action Polisher?
- Can You Use a Dual Action Polisher for Sanding?
- Is a Dual Action Polisher Better Than Other Options?
- What is a Dual Action Polisher and Why Do You Need It?
- Orbital vs. Rotary Polisher: Which is Best for Your Car Detailing Needs?


